I wanted to try Puppet Enterprise but didn’t really want to install it on my system, so I created a script to create a Puppet Enterprise Docker Image for me.
In short:
puppet-enterprise-2016.4.0-ubuntu-14.04-amd64.tar.gz file is in the cloned repo, puppet-enterprise-in-docker, or that you have the download link variable, PE_DOWNLOAD_LINK, set in install-puppet-in-docker fileIMAGE_NAME, PUPPET_MASTER_HOSTNAME and ADMIN_PASSWORD at the top of create-a-puppet-enterprise-docker-image and install-puppet-in-docker files to suite youcreate-a-puppet-enterprise-docker-image script$ git clone https://github.com/jefferyb/puppet-enterprise-in-docker.git
$ mv puppet-enterprise-2016.4.0-ubuntu-14.04-amd64.tar.gz puppet-enterprise-in-docker
$ cd puppet-enterprise-in-docker
$ ./create-a-puppet-enterprise-docker-image
If all goes well, it should launch an instance and if you run docker ps, you should see a running container, test-puppet-enterprise with autosign turned on.
You can then run:
$ docker run --rm --link test-puppet-enterprise:puppet puppet/puppet-agent-alpine
and you should see something like:
Info: Creating a new SSL key for 0b7a0a1c10ec
Info: Caching certificate for ca
Info: csr_attributes file loading from /etc/puppetlabs/puppet/csr_attributes.yaml
Info: Creating a new SSL certificate request for 0b7a0a1c10ec
Info: Certificate Request fingerprint (SHA256): 25:A9:66:E1:E6:59:D0:8B:A2:55:10:83:EC:B2:3F:70:61:9D:26:A0:34:1F:45:49:74:E2:17:7D:91:4C:25:4C
Info: Caching certificate for 0b7a0a1c10ec
Info: Caching certificate_revocation_list for ca
Info: Caching certificate for ca
Info: Using configured environment 'production'
Info: Retrieving pluginfacts
Info: Retrieving plugin
Notice: /File[/opt/puppetlabs/puppet/cache/lib/facter]/ensure: created
Notice: /File[/opt/puppetlabs/puppet/cache/lib/facter/aio_agent_build.rb]/ensure: defined content as '{md5}cdcc1ff07bc245c66cc1d46be56b3af5'
...
Notice: /File[/opt/puppetlabs/puppet/cache/lib/shared/pe_server_version.rb]/ensure: defined content as '{md5}f3d3fc8776512ae73d3293c97b8f3dfe'
Info: Loading facts
Info: Caching catalog for 0b7a0a1c10ec
Info: Applying configuration version '1477951972'
Info: Creating state file /opt/puppetlabs/puppet/cache/state/state.yaml
Notice: Applied catalog in 0.04 seconds
Changes:
Events:
Resources:
            Total: 7
Time:
        Schedule: 0.00
  Config retrieval: 0.72
            Total: 0.73
        Last run: 1477951972
      Filebucket: 0.00
Version:
          Config: 1477951972
          Puppet: 4.6.2
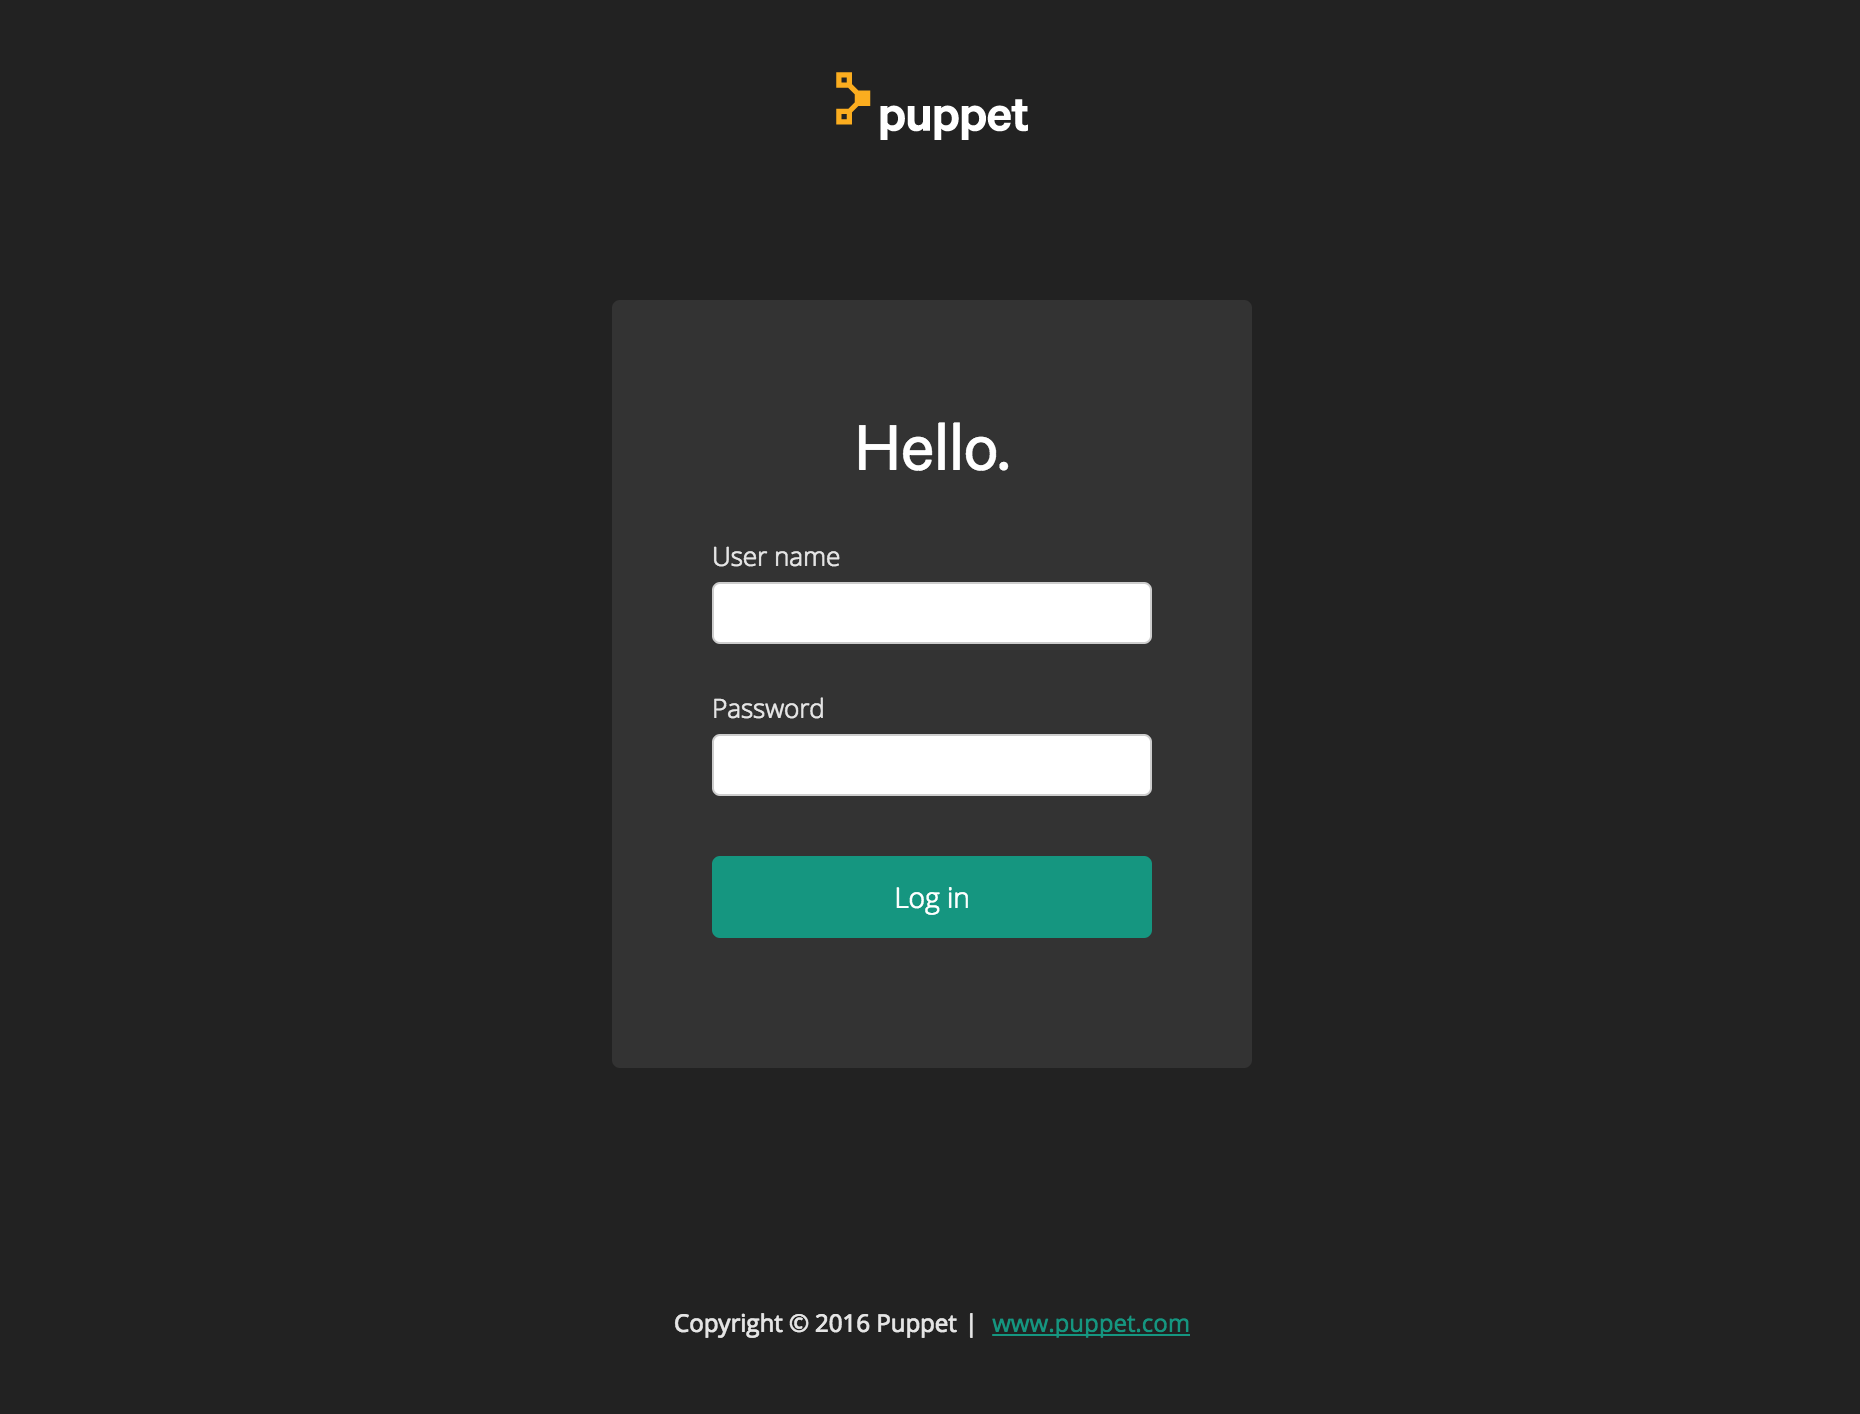
You can then access Puppet Enterprise at:
PUPPET_MASTER_HOSTNAME or the hostname of the machine you’re running docker on and the port number mapped to 443adminwelcometopuppet or which ever one that you set at ADMIN_PASSWORDI used the Ubuntu 14.04 image to install, but to successfully install Puppet Enterprise, you’ll need to:
localeYou can check by running locale
root@0fb9e6958e1c:~# locale
LANG=
LANGUAGE=
LC_CTYPE="POSIX"
LC_NUMERIC="POSIX"
LC_TIME="POSIX"
LC_COLLATE="POSIX"
LC_MONETARY="POSIX"
LC_MESSAGES="POSIX"
LC_PAPER="POSIX"
LC_NAME="POSIX"
LC_ADDRESS="POSIX"
LC_TELEPHONE="POSIX"
LC_MEASUREMENT="POSIX"
LC_IDENTIFICATION="POSIX"
LC_ALL=
To set locale in the Dockerfile, do:
RUN locale-gen en_US.UTF-8
ENV LANG en_US.UTF-8
ENV LANGUAGE en_US:en
ENV LC_ALL en_US.UTF-8
or run:
root@0fb9e6958e1c:~# locale-gen en_US.UTF-8
Generating locales...
  en_US.UTF-8... done
Generation complete.
root@0fb9e6958e1c:~# export LANG=en_US.UTF-8
root@0fb9e6958e1c:~# export LANGUAGE=en_US.UTF-8
root@0fb9e6958e1c:~# export LC_ALL=en_US.UTF-8
You can test it or check it again, and you should have something like this:
root@0fb9e6958e1c:~# locale
LANG=en_US.UTF-8
LANGUAGE=en_US.UTF-8
LC_CTYPE="en_US.UTF-8"
LC_NUMERIC="en_US.UTF-8"
LC_TIME="en_US.UTF-8"
LC_COLLATE="en_US.UTF-8"
LC_MONETARY="en_US.UTF-8"
LC_MESSAGES="en_US.UTF-8"
LC_PAPER="en_US.UTF-8"
LC_NAME="en_US.UTF-8"
LC_ADDRESS="en_US.UTF-8"
LC_TELEPHONE="en_US.UTF-8"
LC_MEASUREMENT="en_US.UTF-8"
LC_IDENTIFICATION="en_US.UTF-8"
LC_ALL=en_US.UTF-8
You can download the tarball for the current version of Puppet Enterprise at https://puppet.com/download-puppet-enterprise.
Unpack the tarball by running tar -xf <TARBALL_FILENAME>
Puppet Enterprise uses a pe.conf file to install in Text-mode installation
cat > pe.conf <<'PECONF'
{
  "console_admin_password": "ADMIN_PASSWORD",
  "puppet_enterprise::puppet_master_host": "PUPPET_MASTER_HOSTNAME",
  "pe_install::puppet_master_dnsaltnames": [
    "puppet"
  ]
}
PECONF
where ADMIN_PASSWORD is the password for the admin user,
and PUPPET_MASTER_HOSTNAME is the hostname you want to use, like puppet.example.com or you can use "%{::trusted.certname}" for its FQDN.
To install PE, cd into the unpacked folder and run:
./puppet-enterprise-installer -c <FULL PATH TO pe.conf>
To complete the setup of the system, run:
puppet agent -t
Once it’s done, you can point your browser to https://YOUR_HOSTNAME and login with admin and whatever you set ADMIN_PASSWORD to…